Now this is the longest and most boring part of the process but the bit that pays off the most. If you have a computer which is always available for the children, you can have the forms all up and you wouldn’t need to do this part. If you want each child to have their own label or a sheet with individual QR codes, this is the page for you.
What you will need:
An Avery Account (it’s free)
______
The plan for this section is:
- Create a new Excel Spreadsheet with all the URLs for every form
- Mail merge the URLs into Avery
- Print the labels
Make a spreadsheet with a list of the children’s names. What we’re going to do (which is the very long part) is to get the URLs of every form and paste it on the spreadsheet next to the child’s name. It’s a long process as there’s no other way of doing it quickly unfortunately.
When you have done this, save the Google Sheets as a Microsoft Excel (xlsx)file and download it to your computer.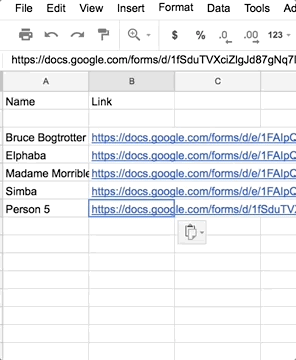
The contents on the spreadsheets won’t look the same by the way – this is a spreadsheet I made earlier, just me being lazy.
Log into Avery:
Click on 1. Choose Product and choose your label size. If you’re not printing onto actual labels, it doesn’t really matter which one you pick.
Click on 2. Choose Design and choose whichever design you like. I just go for the blank horizontal one.
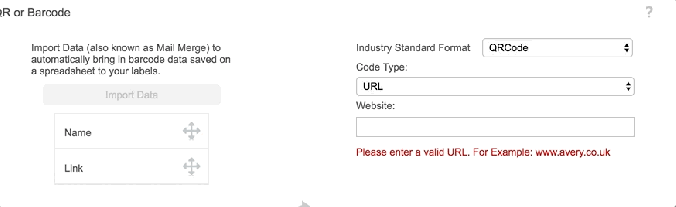
On the Customise page, click on the ‘QR and Barcodes’ section on the left hand side.

Click ‘Merge’ and then ‘Import Data’

Find the place you downloaded the Google Sheets file and upload it.
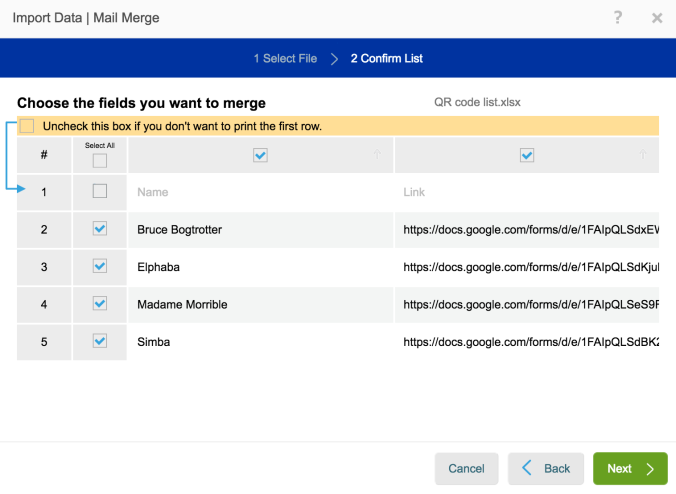
Click ‘Next’
Then click on ‘Finish’.
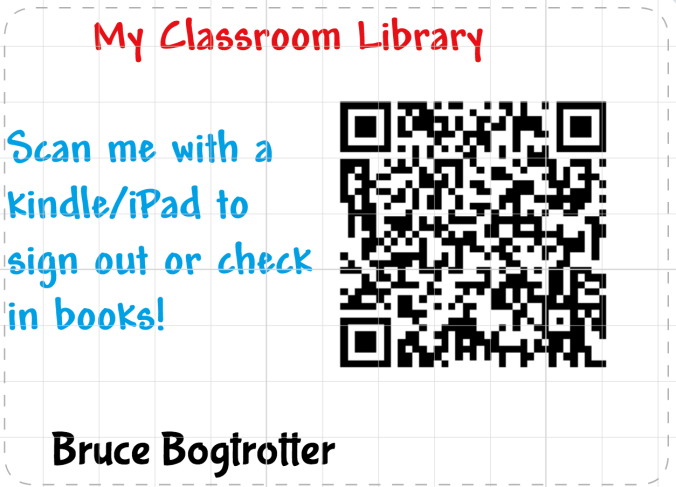
You can add other text like below, then click ‘save’ to save/print your work.
And that’s pretty much it! If you got to the end, let me know because I can’t imagine everyone doing it!
